FREELANDER REAR TRIM RESTORATION |
|
|
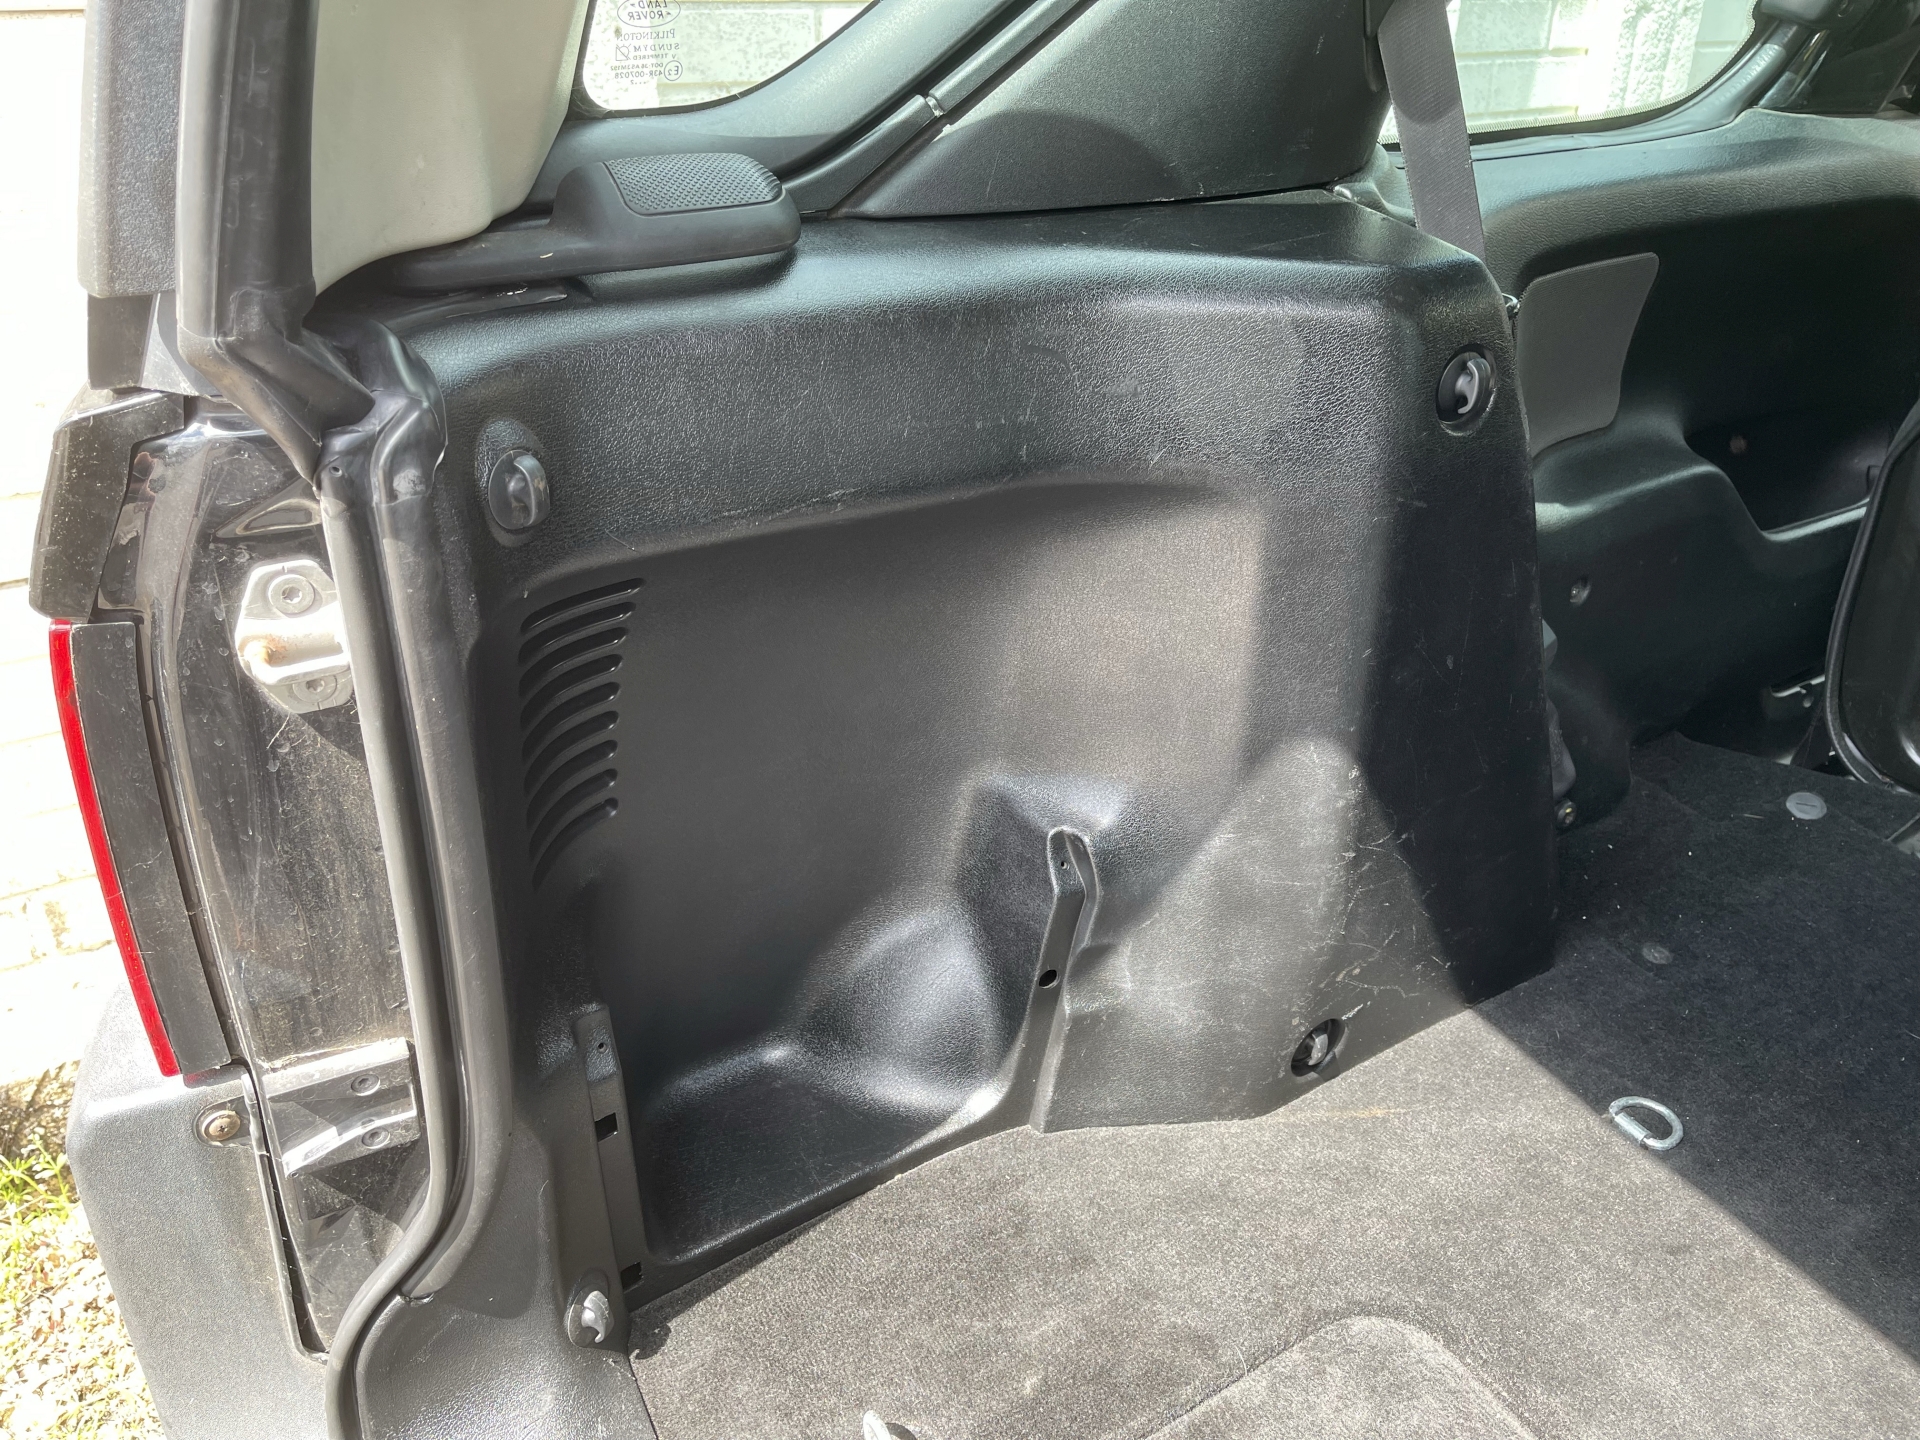
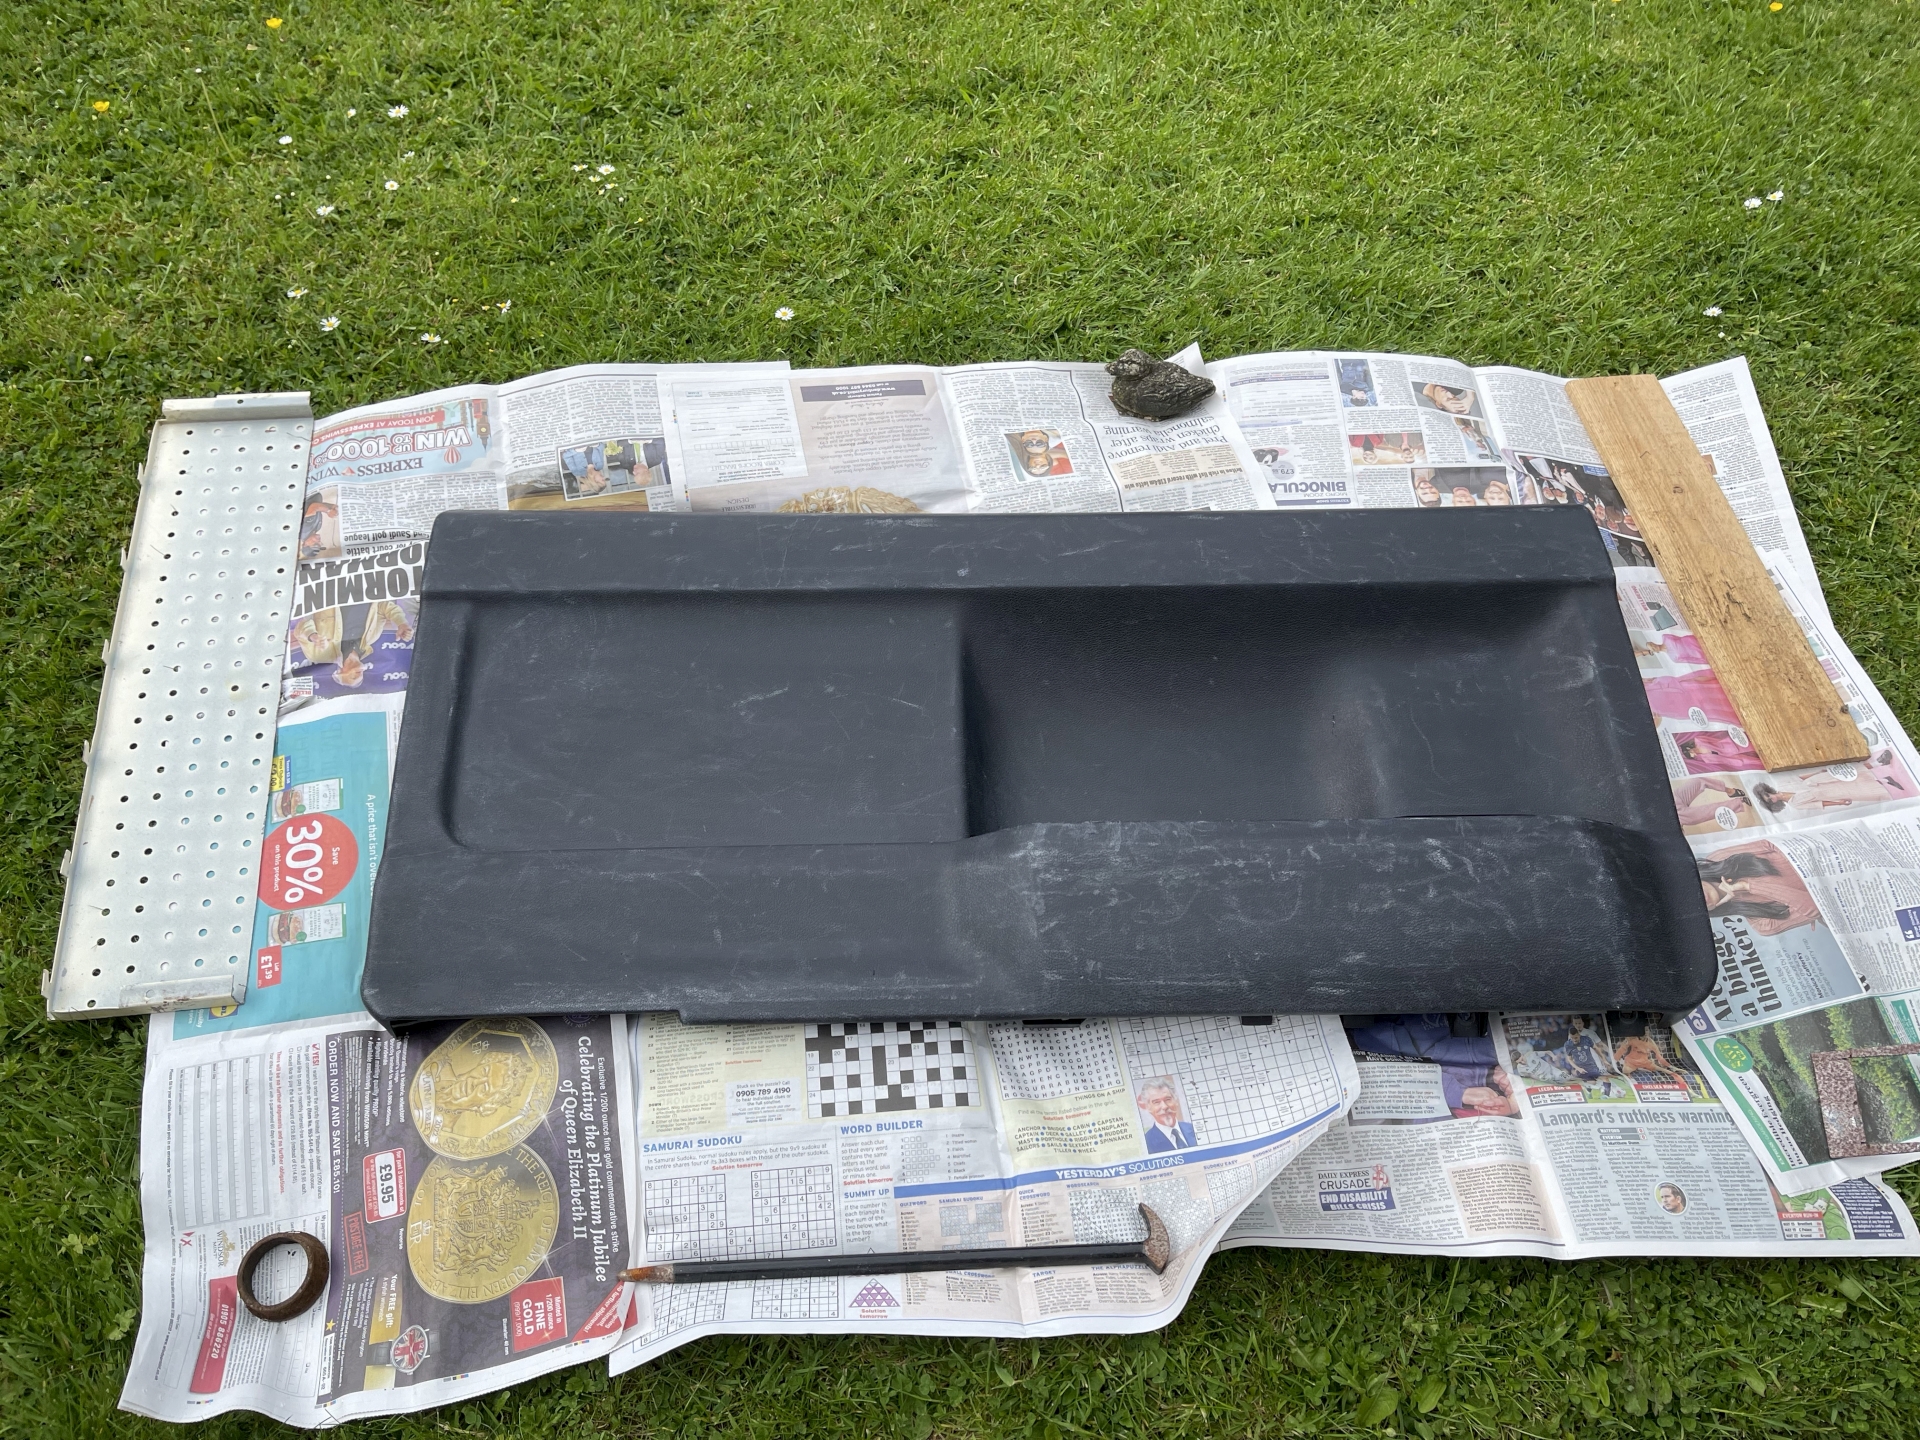
The rear interior panels in my Freelander were looking pretty rough, covered in scuffs and scratches.
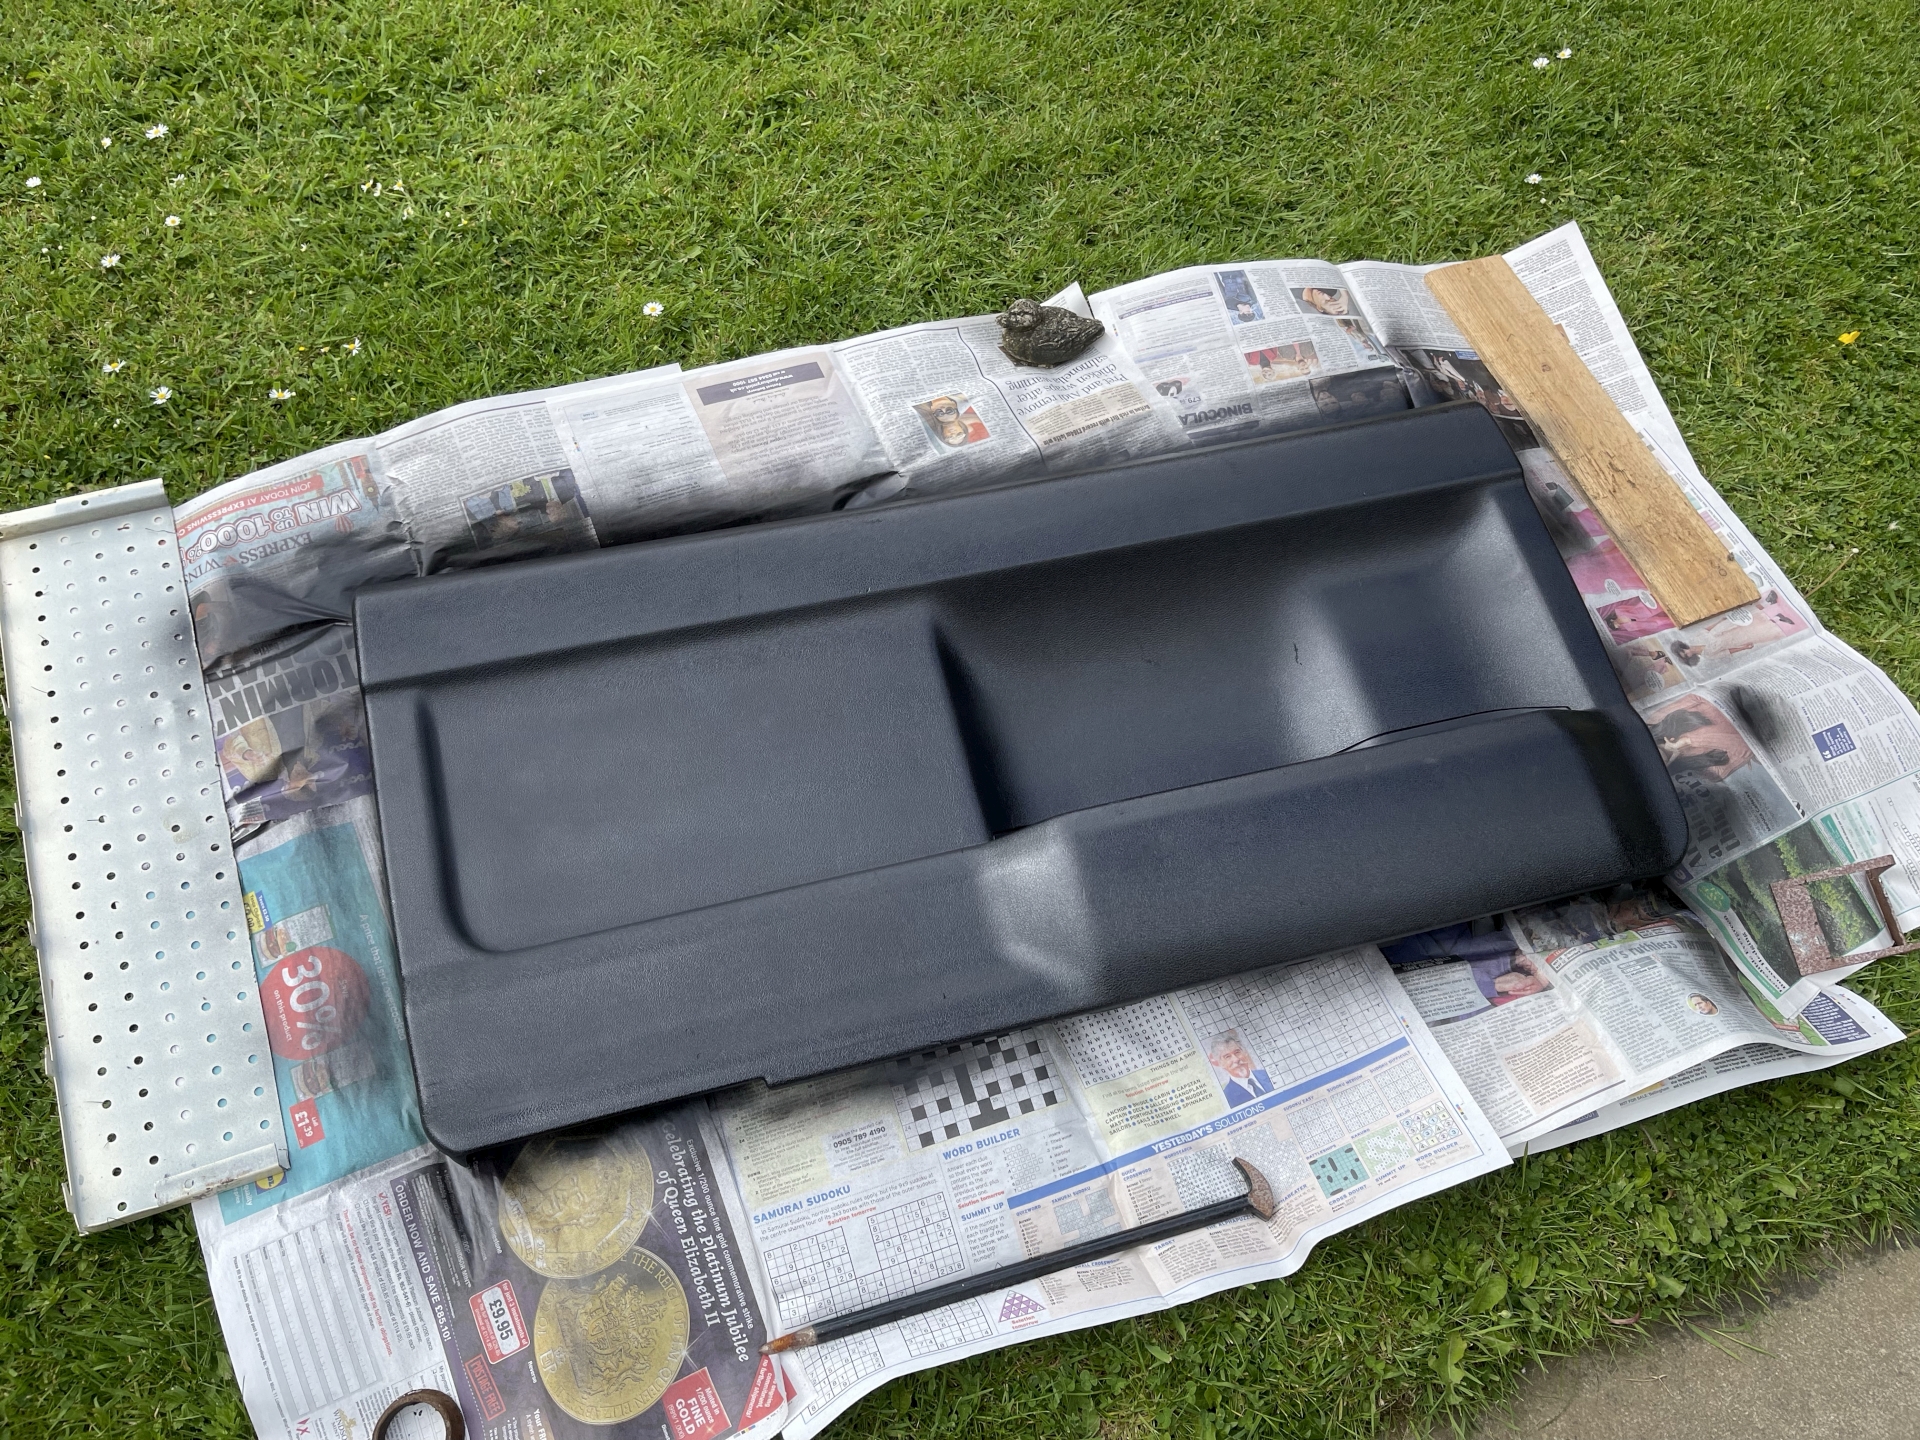
I wouldn't usually paint plastics like this but Halfords sold a vinyl trim paint so I gave it a try.
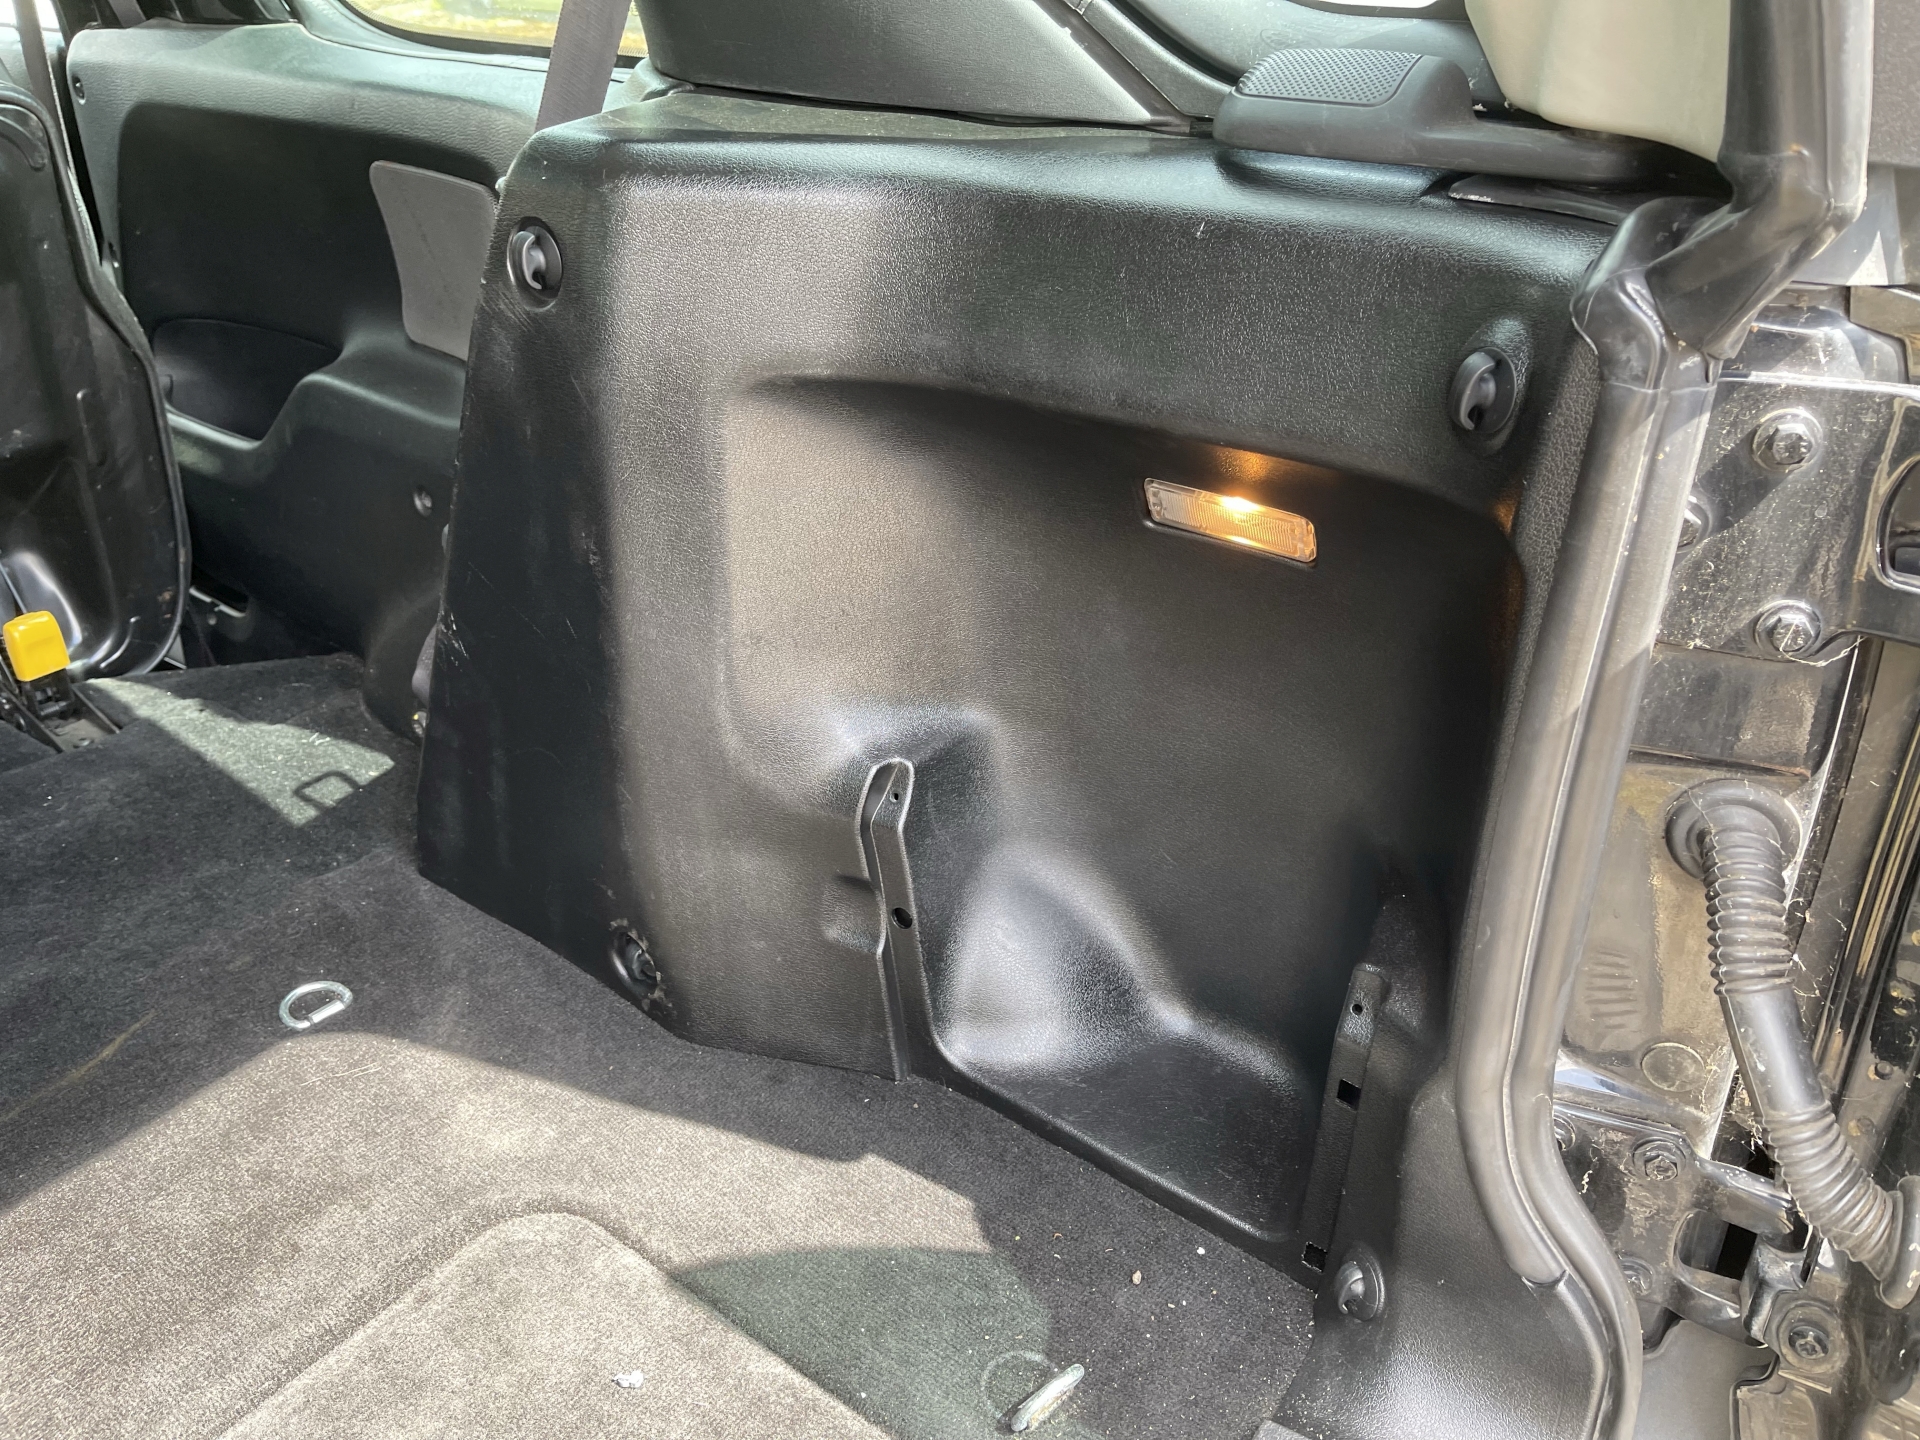
Before painting but after degreasing, lots of scuffs and cuts in the plastic, heat didn't do much to fix them.
After two coats, looking much better. As you can see by the overspray this is thin stuff and it doesn't go on like a thick paint, however it does cover well. All the scuffs are gone, the scratches hidden and a satin shine brought back.
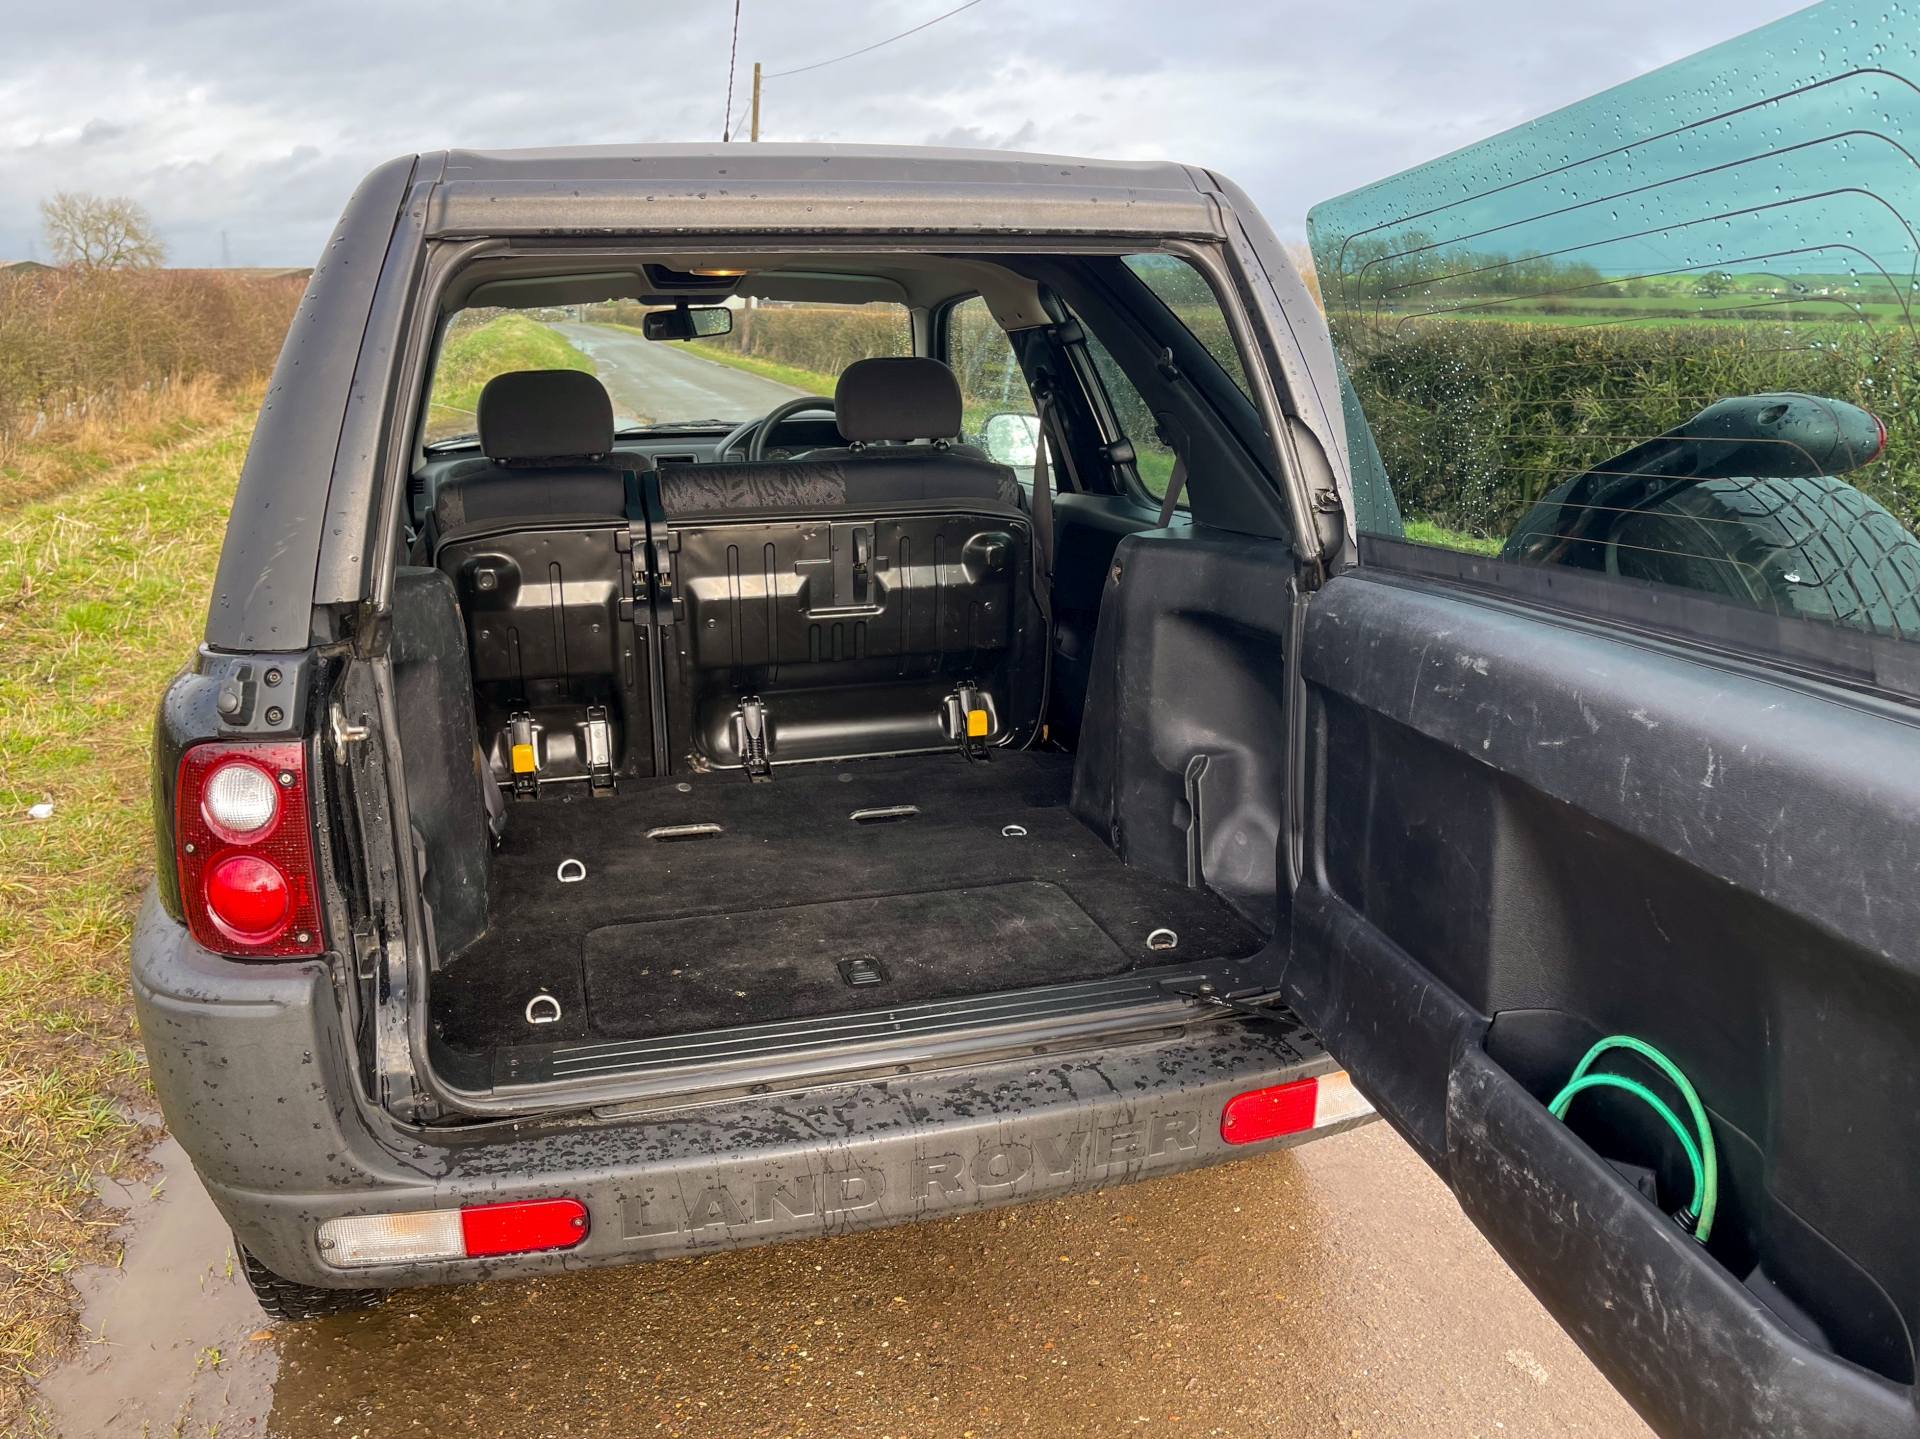
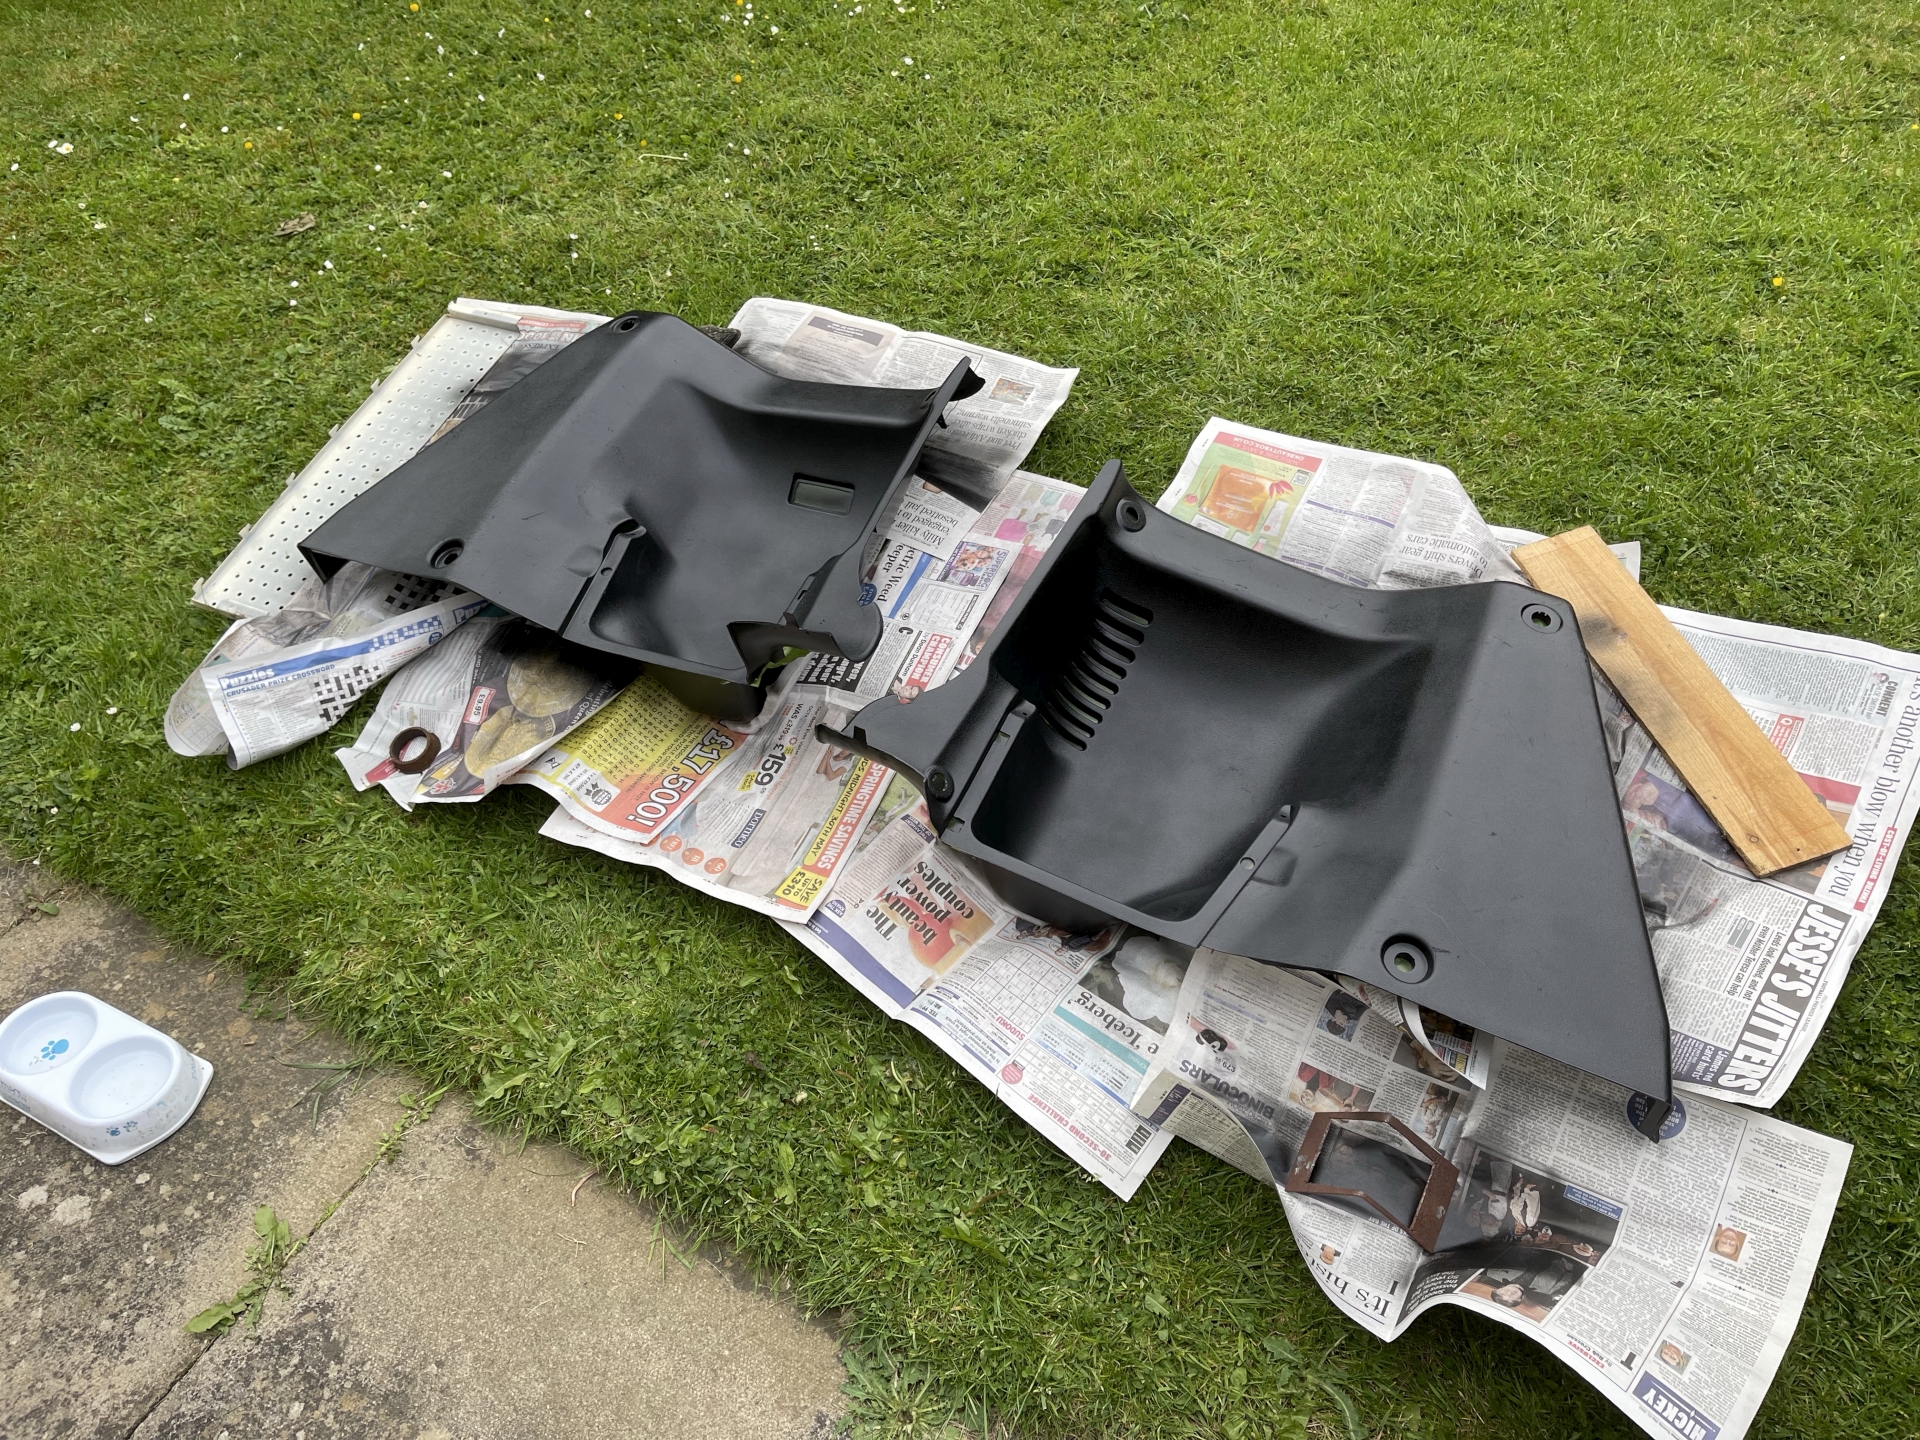
I liked this so much I refitted the tailgate door card and then removed the two back trim pieces in boot. No before picture but imagine these looking like the door card before painting and that's it. Much nicer. Cat bowl for scale.
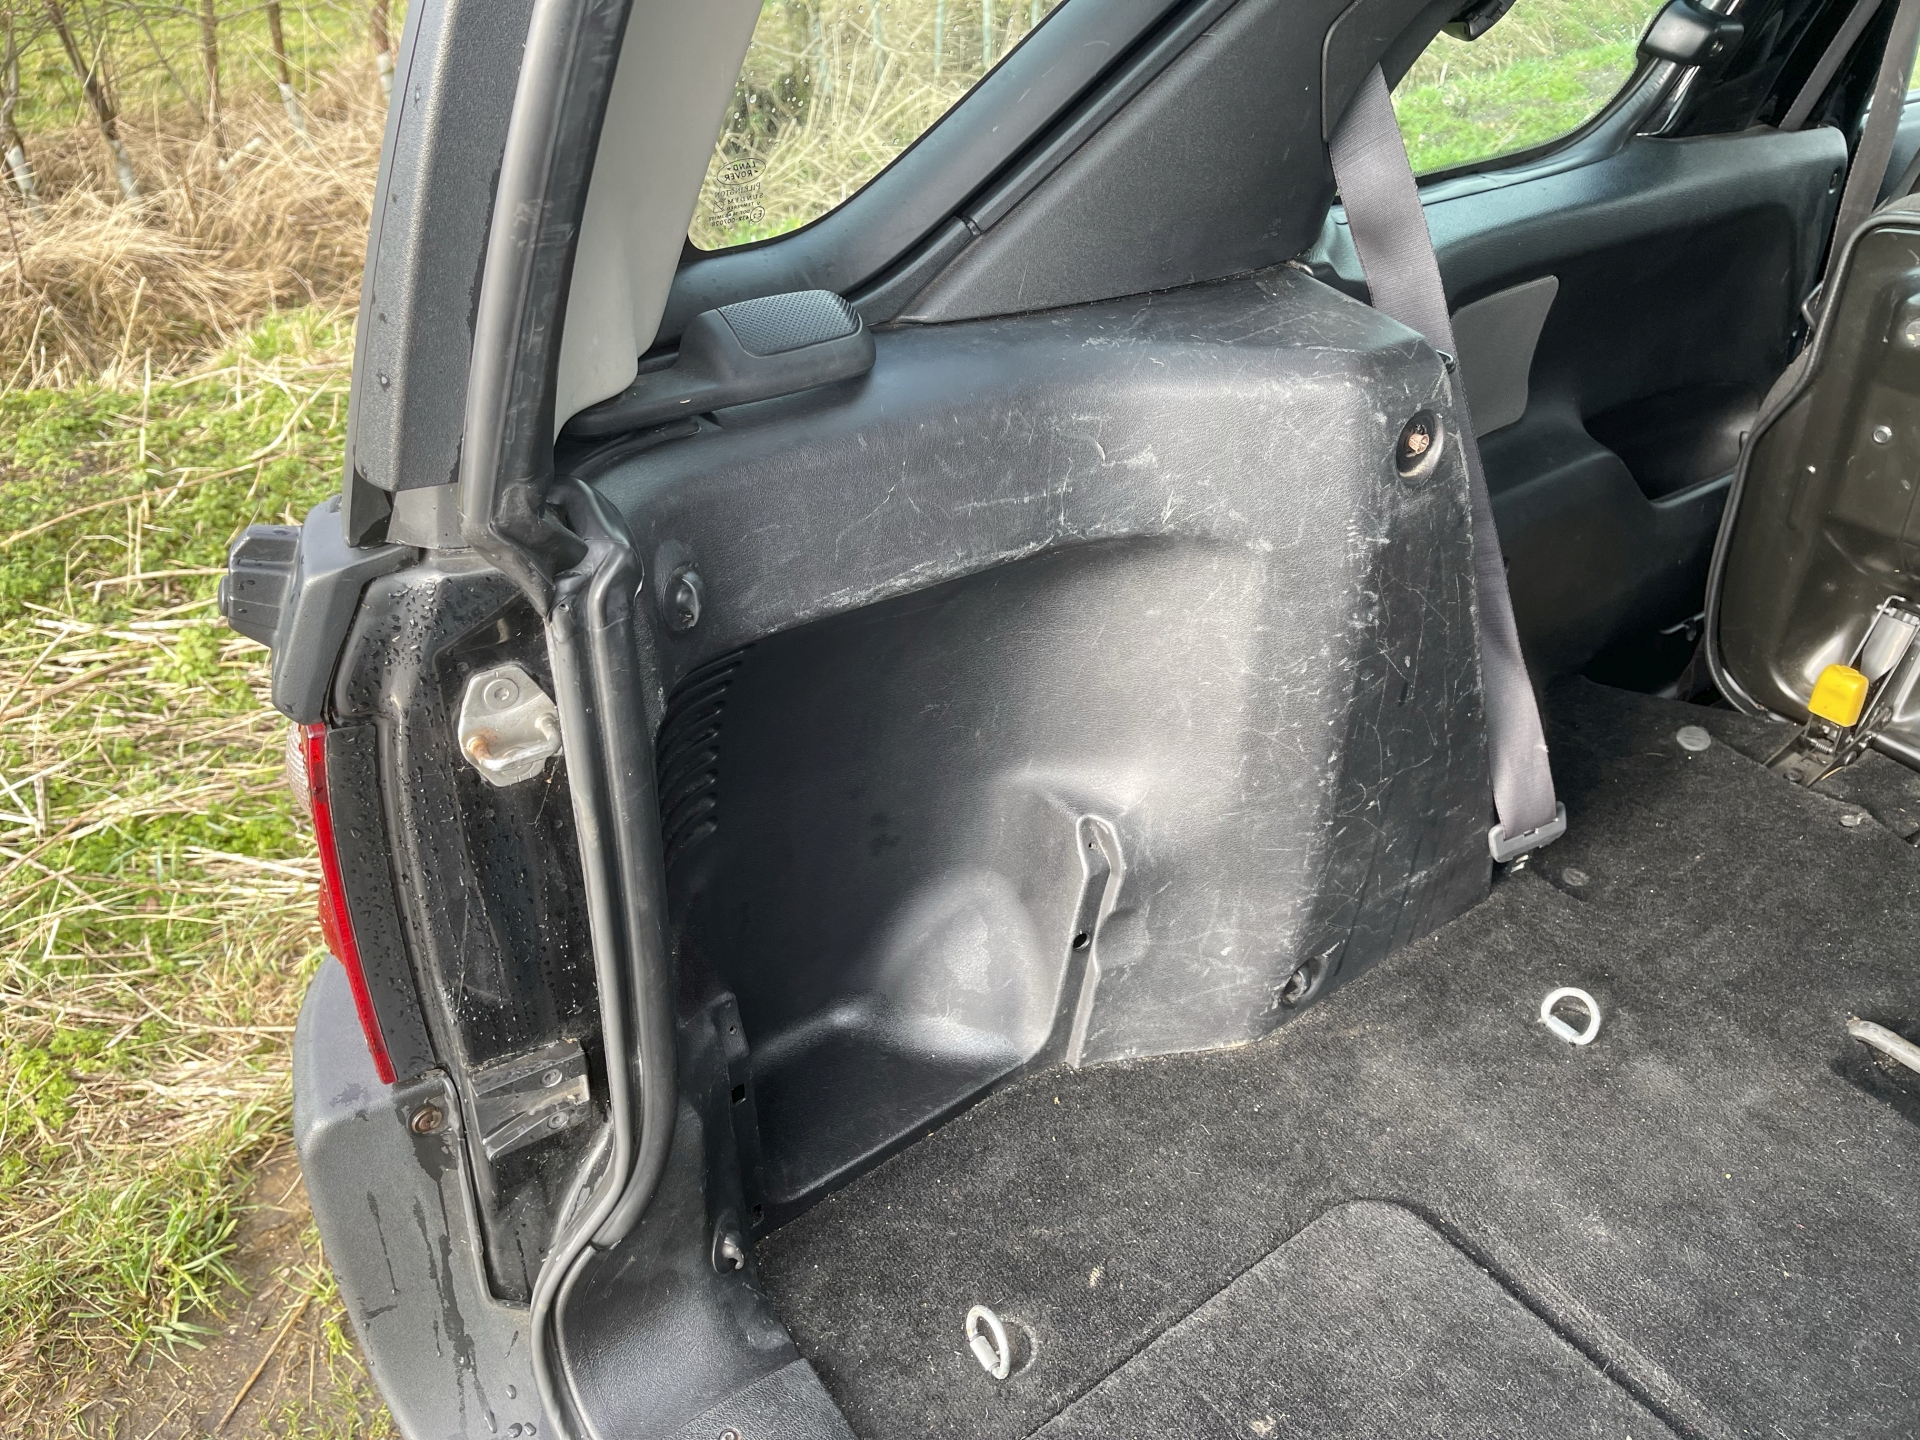
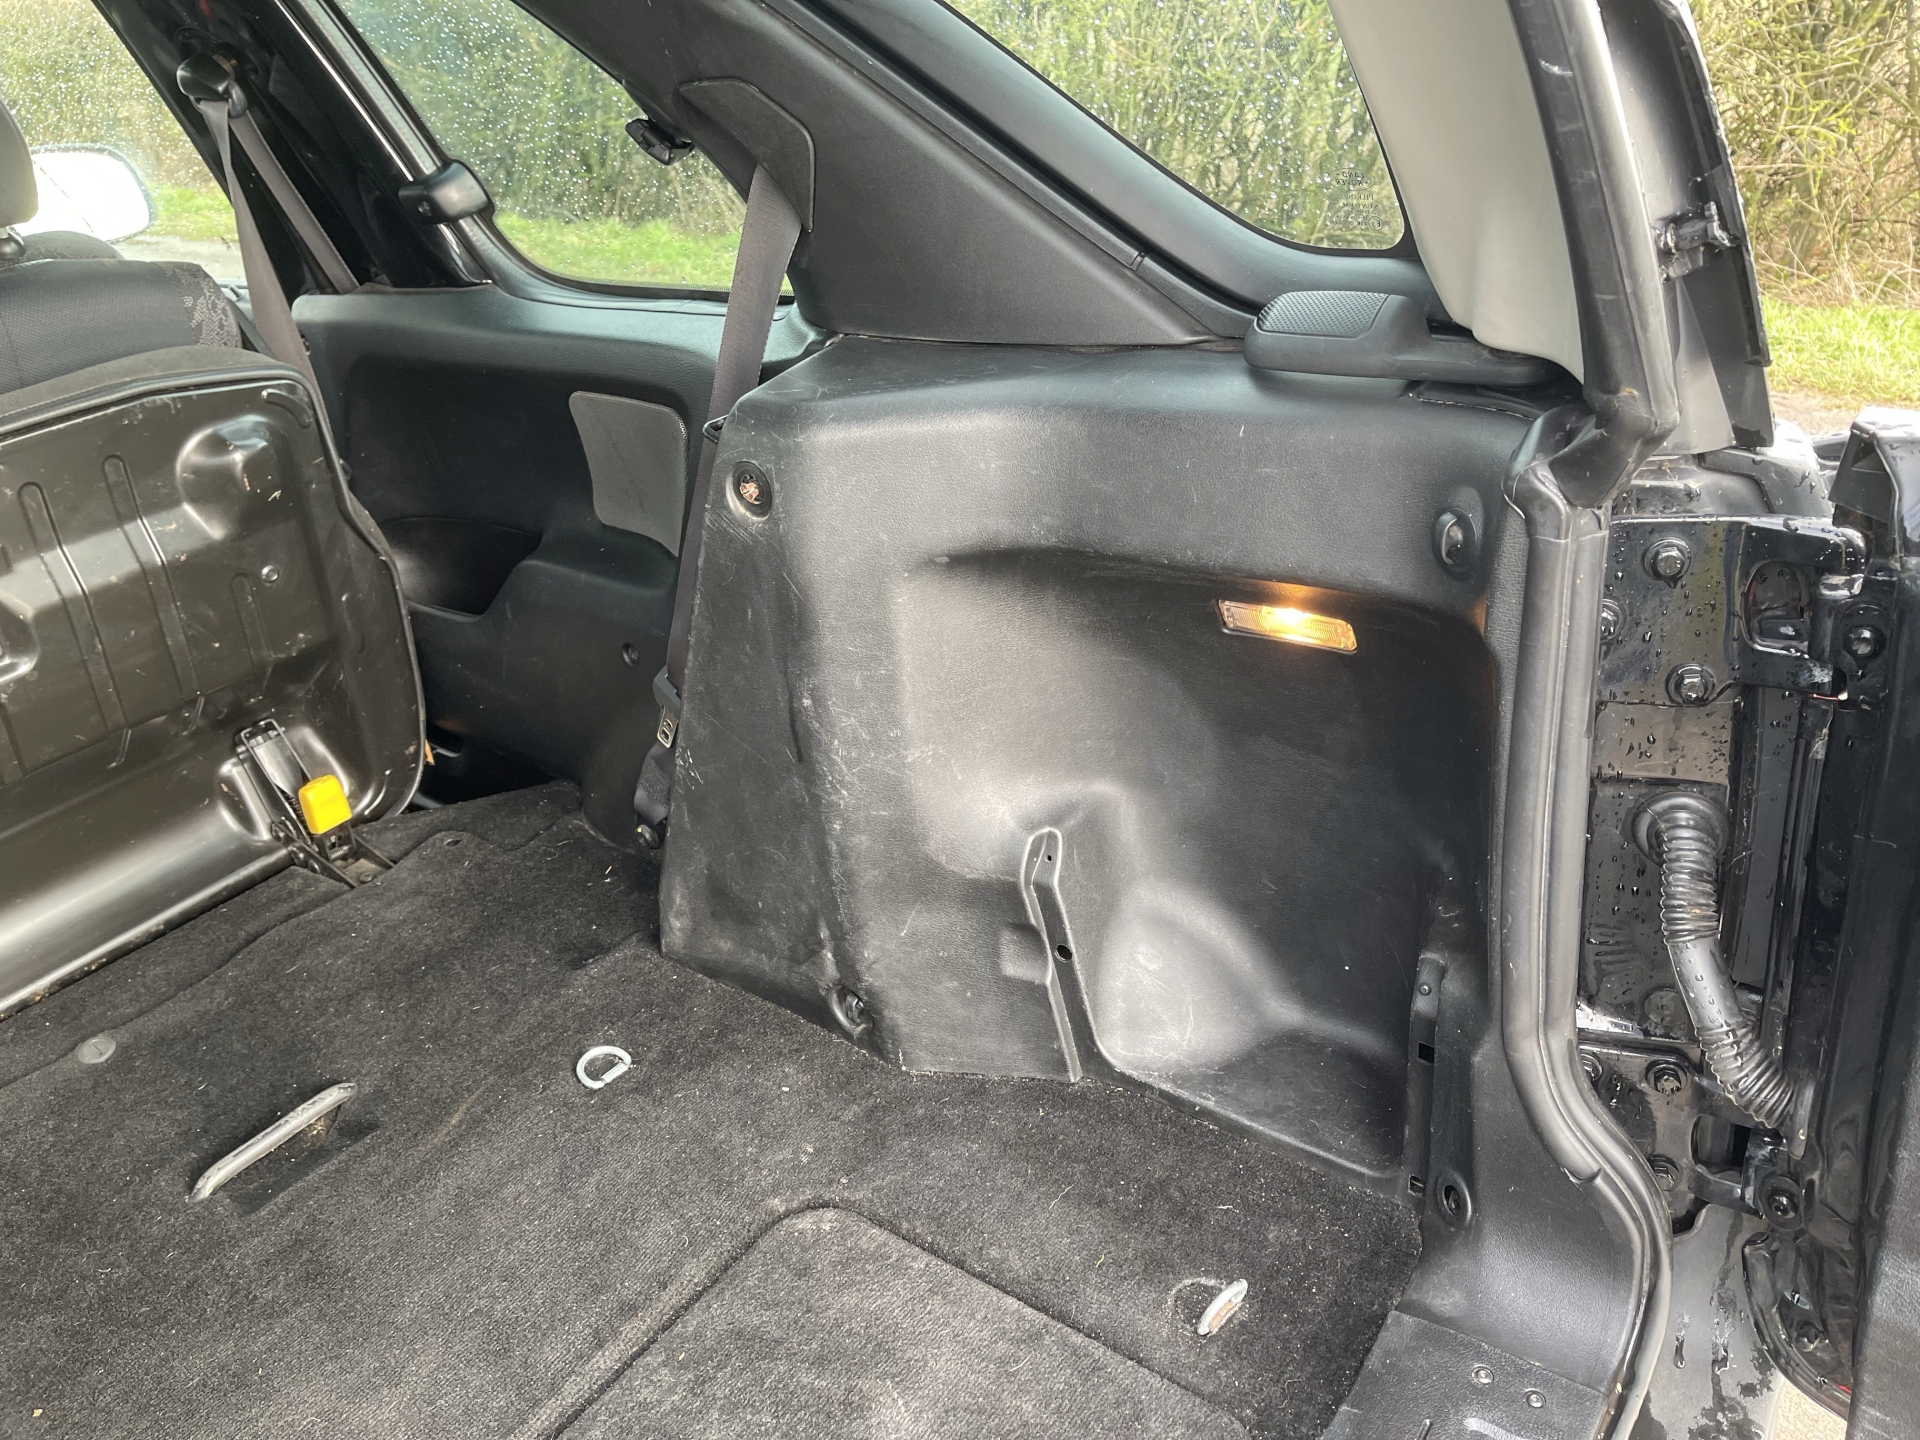
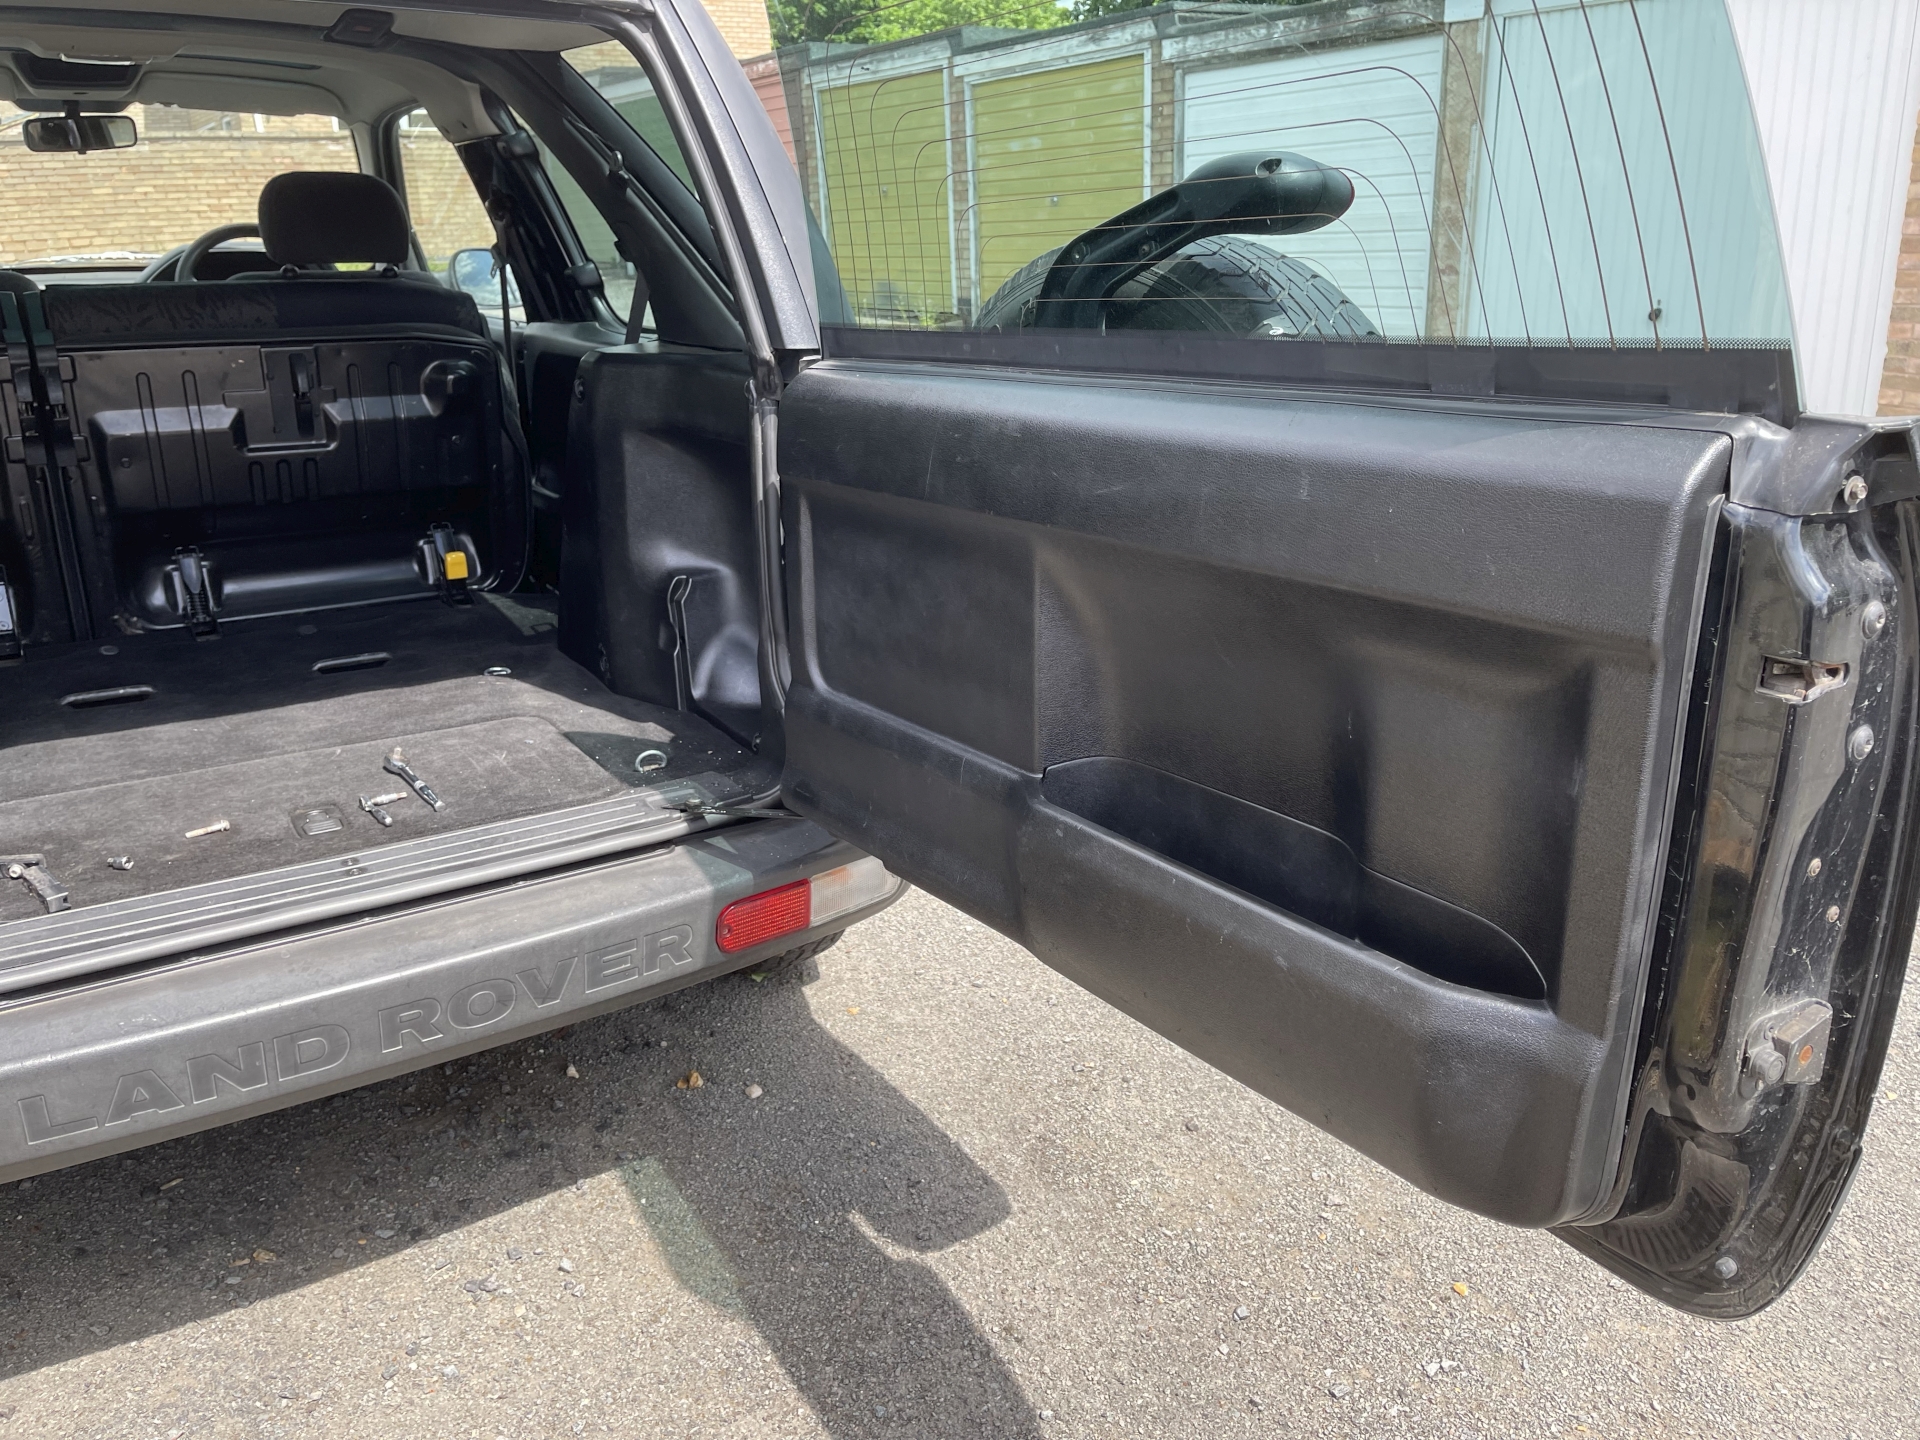
After drying and being refitted, the camera still picks up some scratches but the panels look much better than before.
Top-left hook/clip fitted where it was missing, GDPO had shoved a wall plug in there for some reason. Bottom-right also replaced.
Opposite side with the top-right hooky thing replaced. I got one spare in case I break one.